Step 1: Create a New Publisher in New Solution
- In the ribbon at the top, click on Publishers.
- In the Publishers section, click on New Publisher.
Step 2: Enter Publisher Details
- Fill in the required fields:
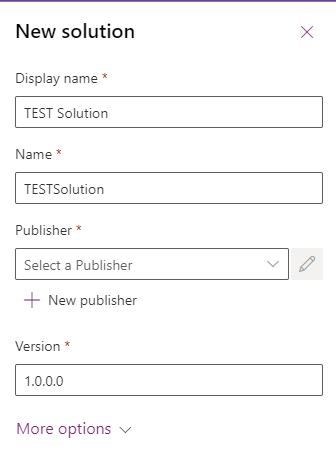
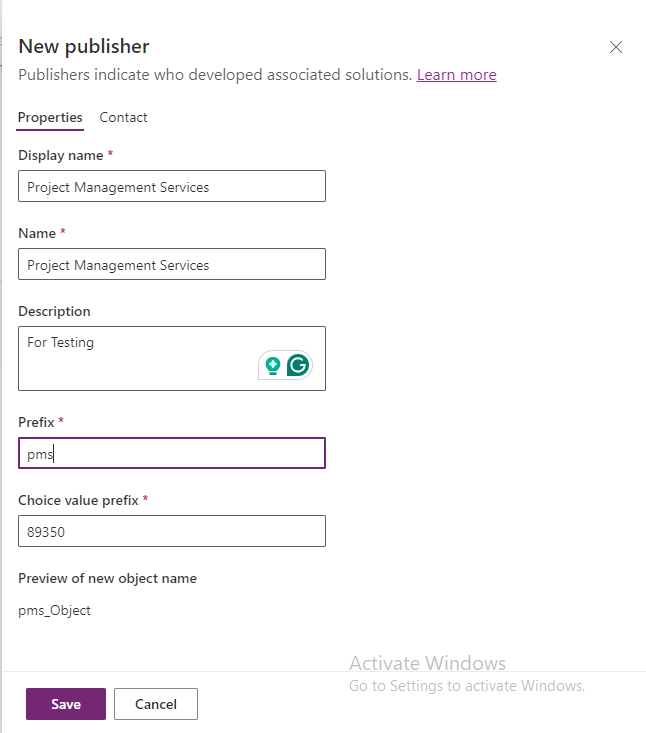
- Display Name: A human-readable name for your publisher (e.g., “Project Management Services”).
- Name: A unique internal name (auto-generated from Display Name, can be manually edited).
- Prefix: A short prefix (e.g., “pms” for Project Management Services). This prefix will be added before the names of all components (e.g., pms_projects).
- Option Value Prefix: A unique numerical value (e.g., 10000) used to assign unique numbers to custom options (option sets) and components. Power Apps automatically suggests a number, but you can modify it.
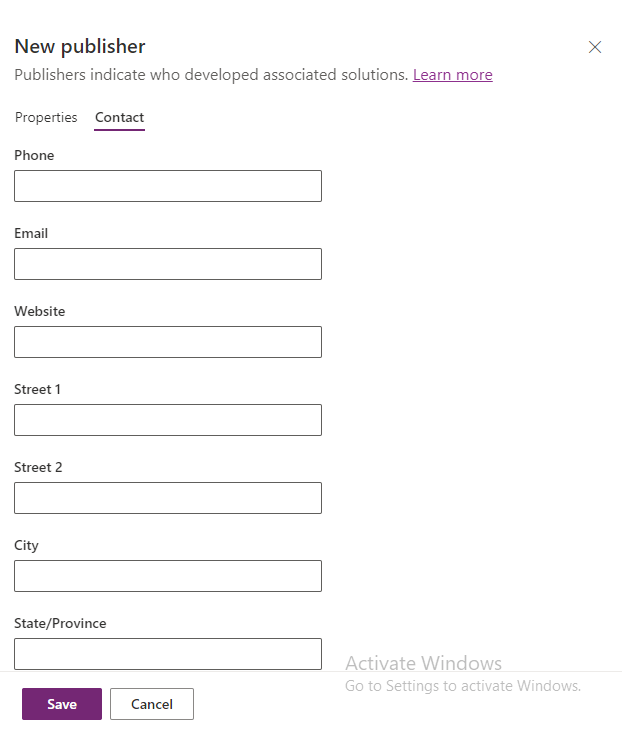
Step 3: (Optional) Add Contact Details
- Contact Information: You can also add contact information (email, website, etc.) for the publisher, though this is optional.
Step 4: Save the Publisher
- Once you’ve entered all necessary information, click Save.