Follow the given steps to Delete a List from SharePoint Online
Step-1
Log in to SharePoint Online: Access your SharePoint Online account and open the list you want to delete.
Step-2
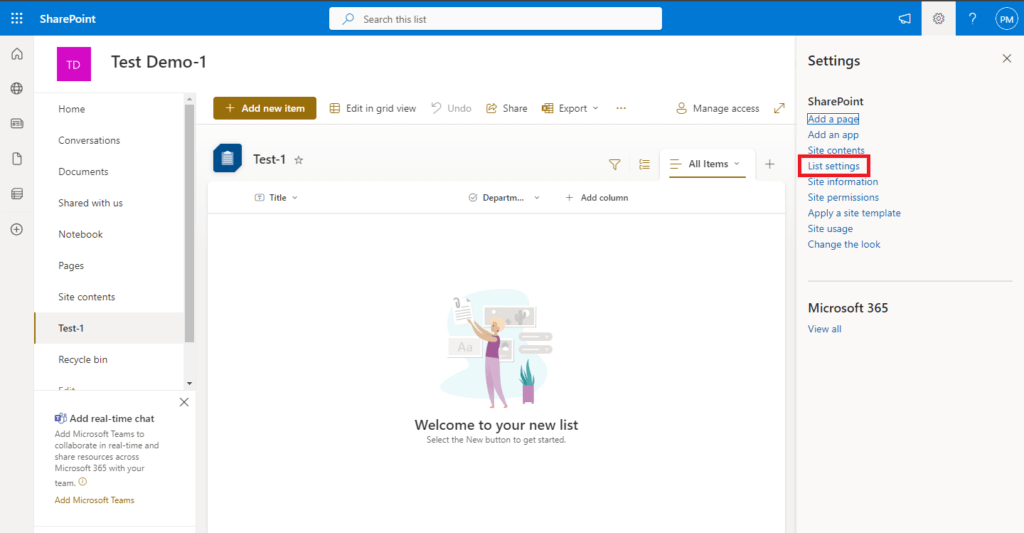
Open Settings: Click on the settings icon (gear icon) located in the top right corner of the page.

Step-3
Access List Settings: A right sidebar will appear. Click on “List Settings” from the available options.
Step-4
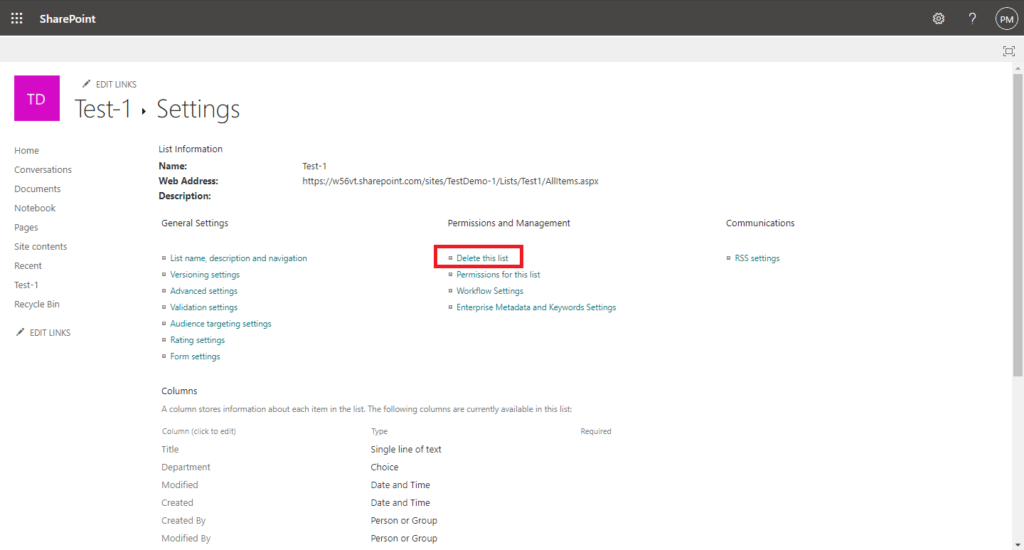
Select ‘Delete this list’: A new page displaying all list settings will open. Locate and select the “Delete this list” option.
Step-5
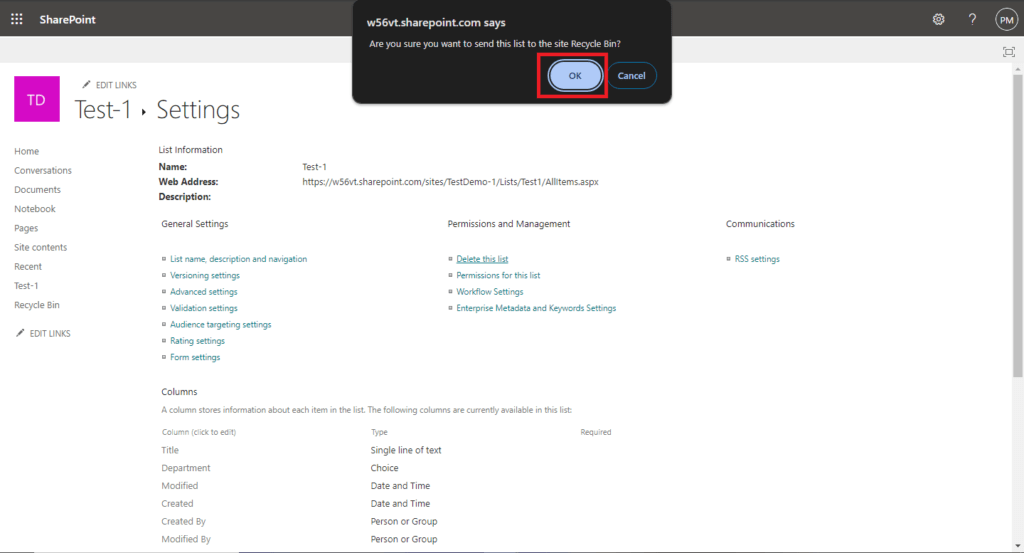
Confirm Deletion: A pop-up window will appear asking for confirmation to send the list to the site Recycle Bin.
✔ Click “OK” to delete the list and send it to the site Recycle Bin.
✔ Click “Cancel” to abort the deletion process.
Step-6
Verify the Changes: Return to your site to see the updated version. The deleted list should no longer be present.

Conclusion
By following these steps, you can effectively delete a list from SharePoint Online. This process is straightforward and ensures that unnecessary lists are removed, helping to maintain the organization and relevance of your site. Confirm the deletion to send the list to the site Recycle Bin, and verify the changes to ensure that the list has been successfully deleted. This method helps you manage your SharePoint Online environment efficiently.
